Launch and Setup of a Node in Docker
Docker runs a fully configured application in a virtual container. In our case, it downloads the latest version of the container with the Tezos node from DockerHub and deploys it on the computer.
The Tezos community created the tezos-docker-manager.shell script to make it easy to start and manage the node in Docker. For example, instead of manually building and running components through the console, just execute ./script.sh start.
We will show you how to start the Granadanet test network node as exemplified by macOS and point out where you need to use other commands on Windows. The main network node is started in the same way, only instead of granadanet, use mainnet.
Change the granadanet to the name of an actual testnet or to the mainnet if you want to launch the node in the main net.
Install Docker from the official website. Then download the script to download the Docker container with Tezos node:
- if you have the wget downloader installed, download the script using the command:
wget -O granadanet.sh https://gitlab.com/tezos/tezos/raw/latest-release/scripts/tezos-docker-manager.sh
- if you don't want to install wget or are using Windows, create a granadanet.sh file, follow the link and paste the code from there into the file.
Move the script to a folder you feel comfortable writing the path to in the terminal, e.g. Documents.
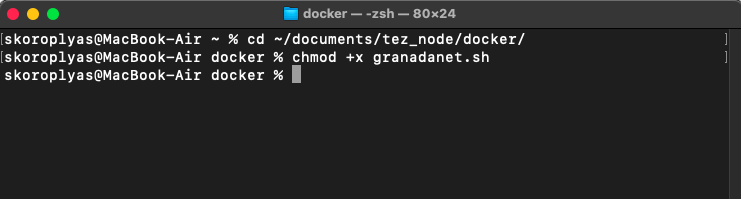
Start the terminal and use cd to navigate to the folder with the script. On macOS run chmod +x to make the script executable:
chmod +x granadanet.sh
This script runs the components of a Tezos node in a Docker container. The script can be used to manage the components, configure the node, and send commands to the Tezos client.
Once launched, the node will start loading the Tezos blockchain to synchronise with the network. During the synchronisation, commands sometimes fail or produce errors, as you may be trying to access the blocks that the node has not yet downloaded. The speed of synchronisation depends on the number of nodes in the network. In a testnet, it will take about a week to sync, in a mainnet it will take a couple of days.
To avoid waiting a week, we import a snapshot, i.e. an archived blockchain, to the node. The node will need to download a few thousand blocks for the last day instead of several million.
Download the latest granadanet full snapshot. Save it in a folder with a convenient path: Documents, Downloads or others.
Now run the node with the special parameter --history-mode rolling. This option prevents the node from downloading blocks from peers and checking the current configuration against the snapshot data, thus avoiding errors such as "The node was expecting a mainnet snapshot, but received a granadanet snapshot!"
Execute the command:
./granadanet.sh node start --rpc-port 8732 --history-mode rolling
Docker will download the Tezos container and then start a node with port 8732 open. Other nodes will use it to connect to your node. Port 8732 is almost always free, and running the node will not affect the speed of the internet connection or other applications.
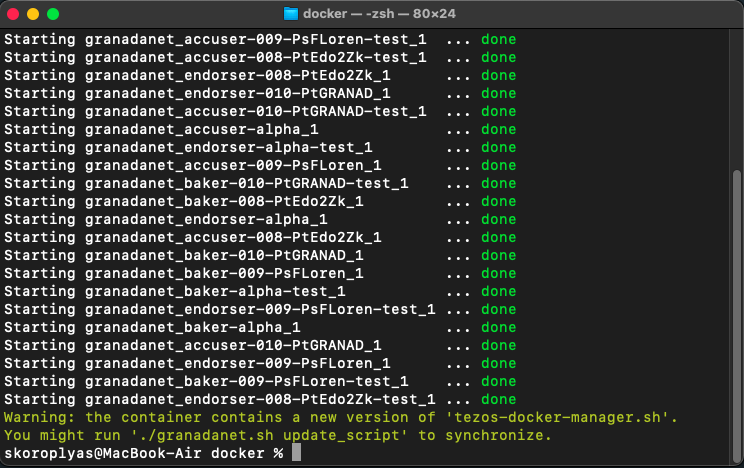
Wait for the script to report that all components are running. If you see a warning about a new version of the script, update it using the command:
./granadanet.sh update_script
Import the snapshot with the import command. You can drag the file from the Finder directly into the terminal window so that it automatically adds the full path to the snapshot.
./granadanet.sh snapshot import /path/to/snapshot/snapshot_name.full
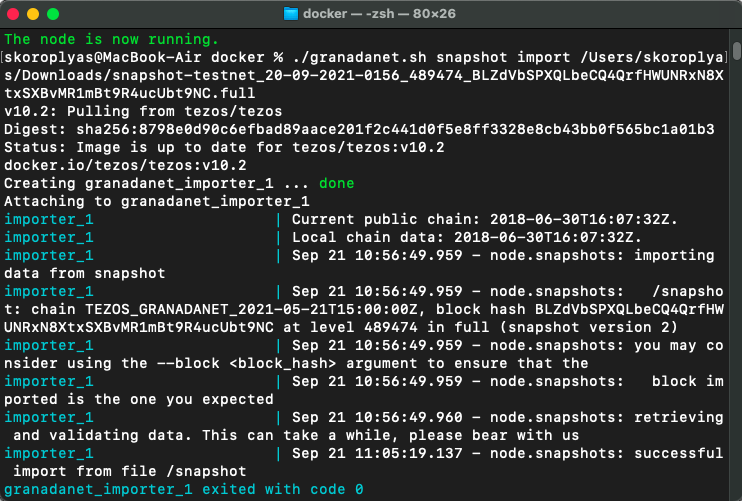
The terminal will complete the import with a code 0 message. Now restart the node with the default blockchain storage parameter full instead of rolling so that the node loads the missing blocks. Run the stop command and wait for the node components to stop. Then restart the node with the full parameter:
./granadanet.sh stop./granadanet.sh node start --rpc-port 8732 --history-mode full
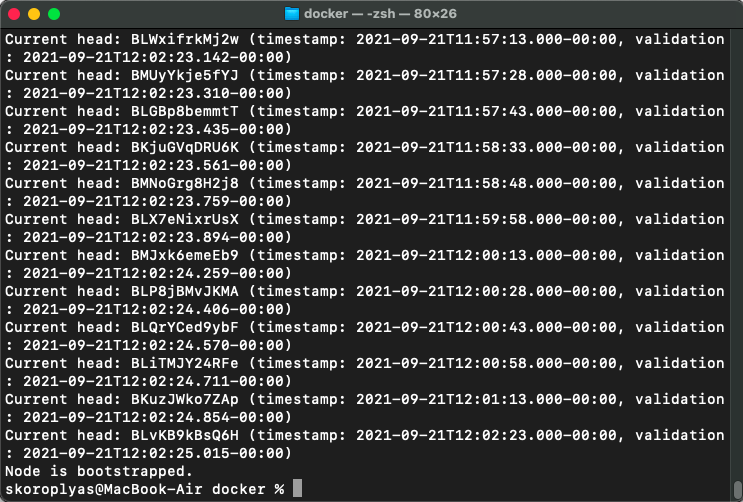
After starting the node, check the synchronisation process with the bootstrapped command. The terminal will keep shooting messages for another 10-30 minutes about loading the last day's blocks:
./granadanet.sh client bootstrapped
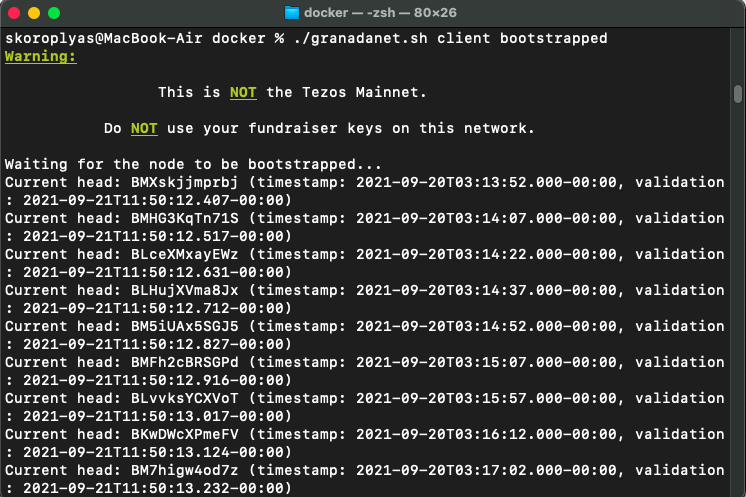
Once the synchronisation is over, the terminal will display node is bootstrapped.
The node is up and running, but the Tezos account is not yet connected to it. To start baking, you need to add a private address key to the node that has at least 6,000 XTZ on it.
First, go to teztnets.xyz and create a test address. Confirm that you are not a robot, download the JSON file with the account data and move it to the folder with the granadanet.sh script. Rename it acc.json as the file name will need to be entered several times in the terminal.
Switch to the terminal and load the acc.json file into the Tezos node container:
docker cp acc.json granadanet_node_1:/home/tezos
Next, load the keys into the node. On macOS and Linux you need to use the sudo chown command, but on Windows you don't need it:
docker exec granadanet_node_1 sudo chown tezos:nogroup /home/tezos/acc.json
Activate the test account with the preset key. Bake is the alias of our account to which the key will be attached. You can select a different account alias:
./granadanet.sh client activate account Bake with /home/tezos/acc.json
The Tezos client will now use your private key to sign requests like transferring tokens to another address or starting the baking.
Check how many XTZs you have on your address:
./granadanet.sh client get balance for Bake
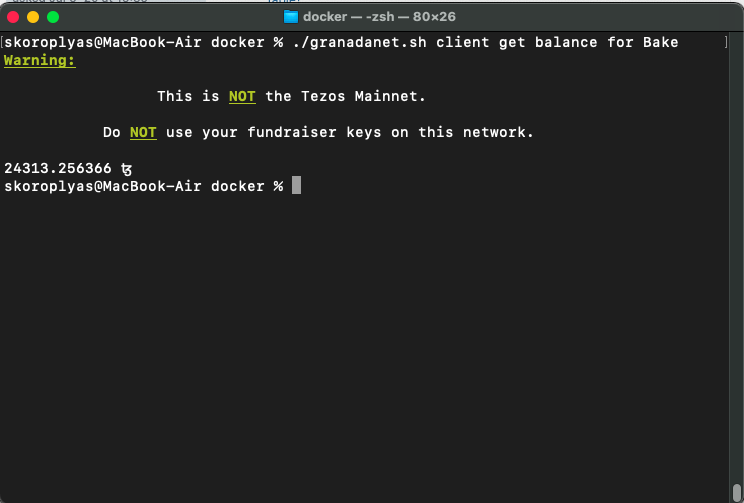
teztnets.xyz produces accounts with a random number of test tokens. If you are lucky, you can get 6000 XTZ or more. Then you can execute the last commands and start baking on the test network. If you haven't had any luck, that's okay. You've already done the hardest part and started a working node, which means the following commands will work without errors when baking in the mainnet.
Now you need to register the account as a baker and then separately run the baker, endorser and accuser daemons with the account address. The granadanet.sh script sometimes displays an error during registration, so it's better to do everything directly from Docker.
Stop the node with stop:
./granadanet.sh stop
Start the node daemon with the start command. This daemon is responsible for running the Tezos client so the rest of the node components can be managed through it. To be on the safe side, you need to specify some options to connect to the node on port 8732, so that your firewall won't block the connection:
./granadanet.sh node start --rpc-port 8732 --rpc-addr :8732 --allow-all-rpc 8732 --connections 20
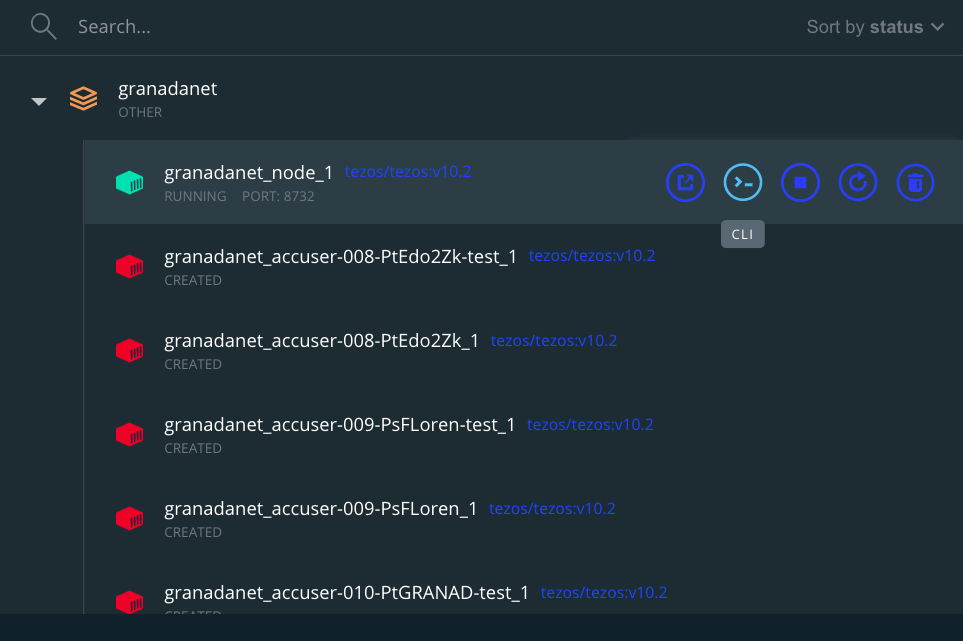
Open the Docker application. From the list on the left, select the Containers / Apps tab. In the middle, you will see a list of previously run containers, among which is granadanet with an orange icon. This means that some components are not running in the container — this should be the case:
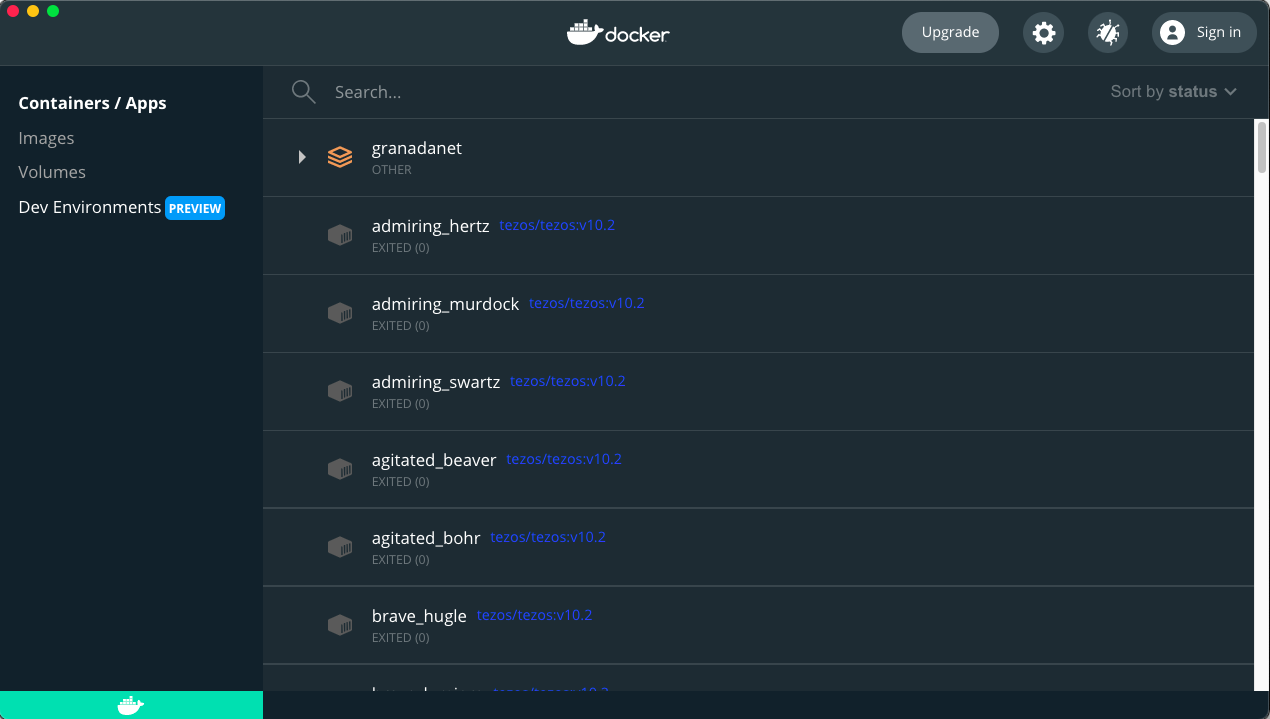
Click on the white arrow next to the orange granadanet icon to open the component list. Locate the granadanet_node_1 daemon, which would be the only one with the green icon. Hover over it and click on the second icon signed CLI to open a terminal from under the node daemon. This will allow you to directly control the node via the console.
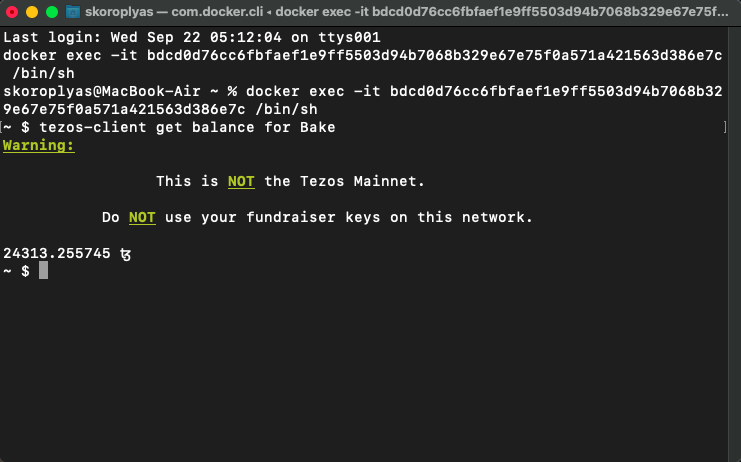
In this terminal, make sure that the accounts, connections, and synchronisation with the network have not gone astray. To do this, run the get balance command:
tezos-client get balance for Bake
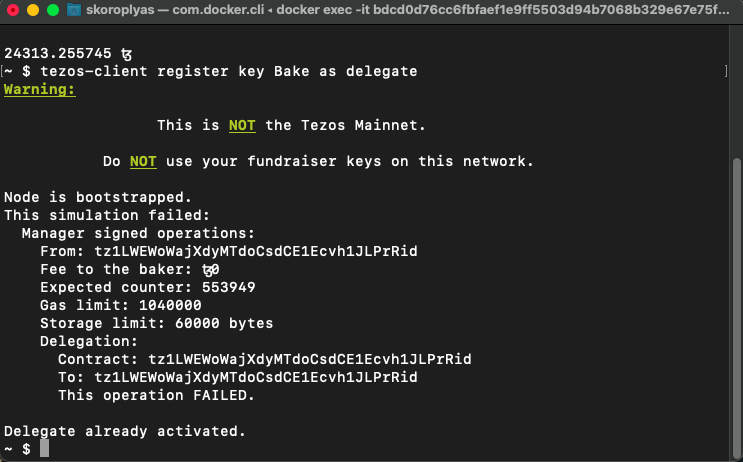
Register your address as a delegate. In our case, the terminal returned an operation error because we have already registered:
tezos-client register key Bake as delegate
The terminal will give you a message that the transaction has been completed. Unfortunately, you will not be able to start baking until 14 days later. The protocol makes the baker schedule for 5 cycles in advance, so your address will not be scheduled until two weeks later. You can run all the daemons you need now and leave the computer on for a fortnight, or you can do it all in 11-12 days.
Close this window and go back to the terminal where you started the node with the ./granadanet.sh script. Run the start command in it to launch the remaining components of the node:
./granadanet.sh start --rpc-port 8732 --rpc-addr :8732 --allow-all-rpc 8732 --connections 20
Wait for the confirmation and go to Docker. In the list, find the granadanet container and expand its contents using the white arrow. Most of the components should have green icons.
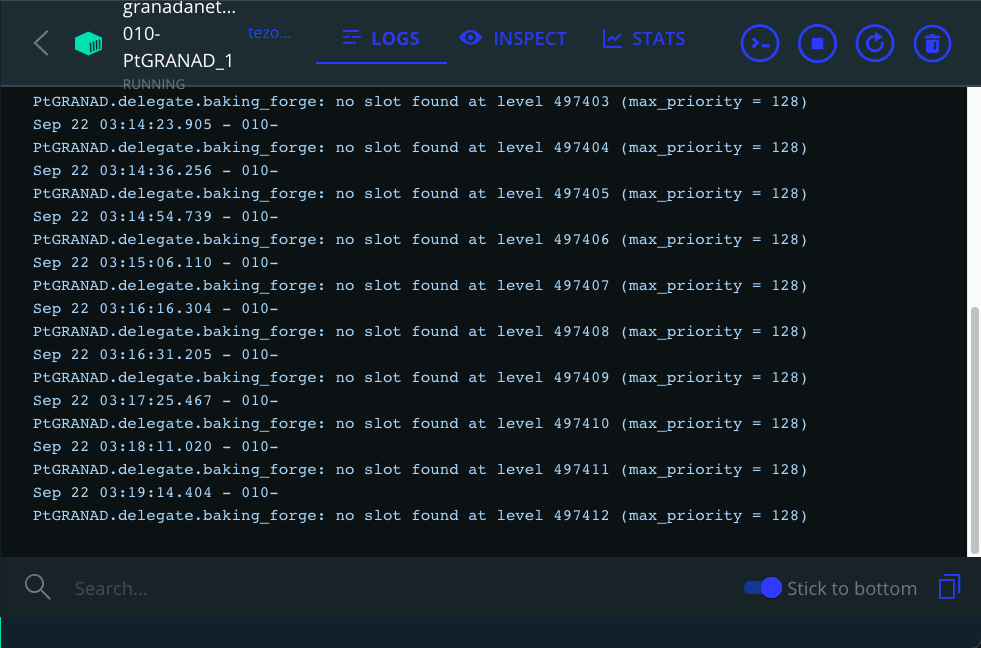
Look for two main components in the list: granadanet_baker-010-PtGRANAD_1 and granadanet_accuser-010-PtGRANAD_1. These are the processes responsible for signing, confirming, and checking the blocks respectively.
Click on the name granadanet_baker-010-PtGRANAD_1. This will open the built-in console with the operation logs. But as our address does not yet have permission to sign blocks, it will keep returning a no slot found error for the next two weeks. As soon as the protocol has put the address on the schedule, the baker process will start signing blocks and the endorser will start confirming them.